Are you looking to transform your outdoor space into a lush green oasis while maximizing your limited space? A DIY vertical garden wall is a fantastic solution, especially if you’re working with a small patio, balcony, or yard. Beyond its aesthetic appeal, it can also offer privacy, fresh air, and cooling shade—particularly valuable in urban environments. In this guide, I’ll show you how to build your own DIY vertical garden wall, step-by-step. We’ll also explore different types of DIY Vertical Garden Wall systems, including freestanding options, and how to create vertical garden pockets for a sustainable, space-saving design.
Whether you’re a seasoned gardener or a beginner, this project is straightforward and can be customized to suit your needs. Plus, it’s a great way to introduce more greenery into your life, even if you’re dealing with limited outdoor space.
Why Build a Vertical Garden Wall?
Before diving into the step-by-step instructions, let’s discuss why you might want to build a DIY Vertical Garden Wall in the first place. Here are just a few of the benefits:
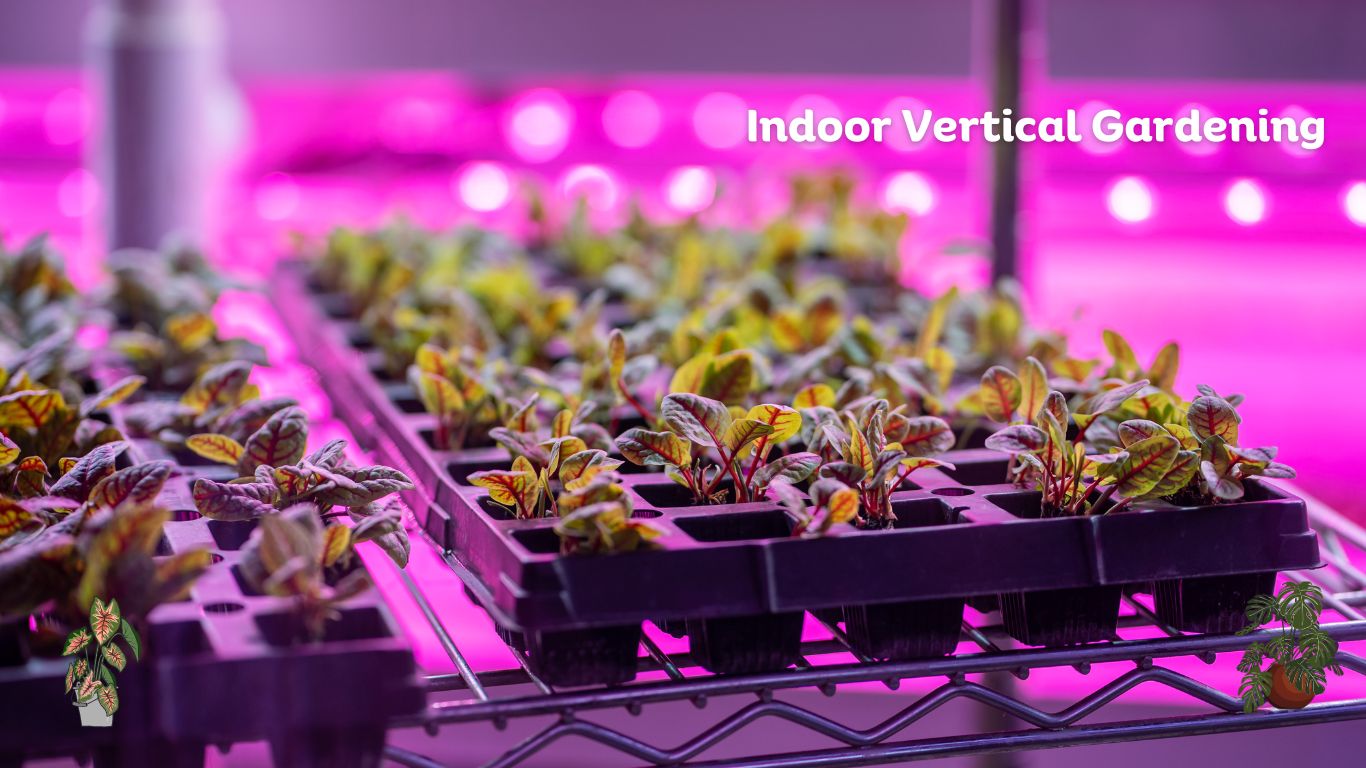
- Space-Saving: Vertical gardening maximizes space, making it perfect for small patios, balconies, or even indoor spaces.
- Enhanced Privacy: A vertical garden wall can act as a natural privacy screen, blocking views from neighbors or unsightly areas of your yard.
- Cooling Effect: Plants can cool down your space by providing shade and releasing moisture into the air.
- Air Purification: Vertical gardens can improve air quality by absorbing pollutants and releasing oxygen.
- Visual Appeal: A green wall adds a beautiful focal point to any outdoor space, making it more inviting.
Supplies You’ll Need
To get started, gather the following materials for your DIY vertical garden wall:
- 2 Ground Spikes (4 in. x 4 in.)
- 2 Cedar Posts (4″x4″x8′)
- 3 Cedar Planks (2″x6″x8′)
- Scrap length of 4″x4″
- 8 Lag Bolts (1/4″x3″)
- Hex Wire Netting (24 inches x 25 feet)
- 3/4″ Fence Staples
- 19-gauge Plated Steel Wire
- 4″ Terra Cotta Pots (30-35 pots)
- Small Plants (30-35)
- Potting Soil
- Sledgehammer
- Wood Clamps
- Power Drill
- Pliers
Now that you have all the materials, let’s dive into how to build your own DIY vertical garden wall.
How to Build Your Own DIY Vertical Garden Wall: Step-by-Step Instructions
Step 1: Choose Your Location
First, choose where you’d like to place your vertical garden wall. Ideally, this location should receive plenty of sunlight, as most plants will require at least 6 hours of sunlight a day. Make sure there are no utility wires or pipes running through the ground in the area where you’ll be digging. You can contact your local utility company to check if you are unsure.
Step 2: Install the Ground Spikes
Next, use a sledgehammer to drive the ground spikes into the spots where the cedar posts will stand. These spikes will act as the foundation for your posts and provide the necessary stability for the DIY Vertical Garden Wall. Place a scrap piece of wood over the top of the spike to prevent damage while hammering.
Step 3: Cut and Install the Cedar Posts
Cut the cedar posts to your desired height—7 feet is a common choice for vertical garden walls. Insert the posts into the ground spikes, ensuring they are level. Most ground spikes come with an adjustable swivel that allows you to fine-tune the positioning. Once the posts are straight, tighten the bolts to secure them.
Step 4: Attach the Cedar Planks
Using wood clamps, temporarily hold the two 2″x6″ cedar planks on top of the cedar posts—one on the front and one on the back. These planks will form the top frame of your vertical garden wall. Make sure the overhang on each side is equal, then drill countersunk holes for the lag bolts. Attach the planks to the posts using the bolts.
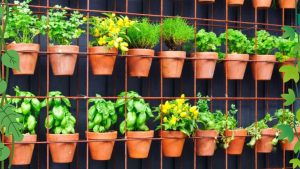
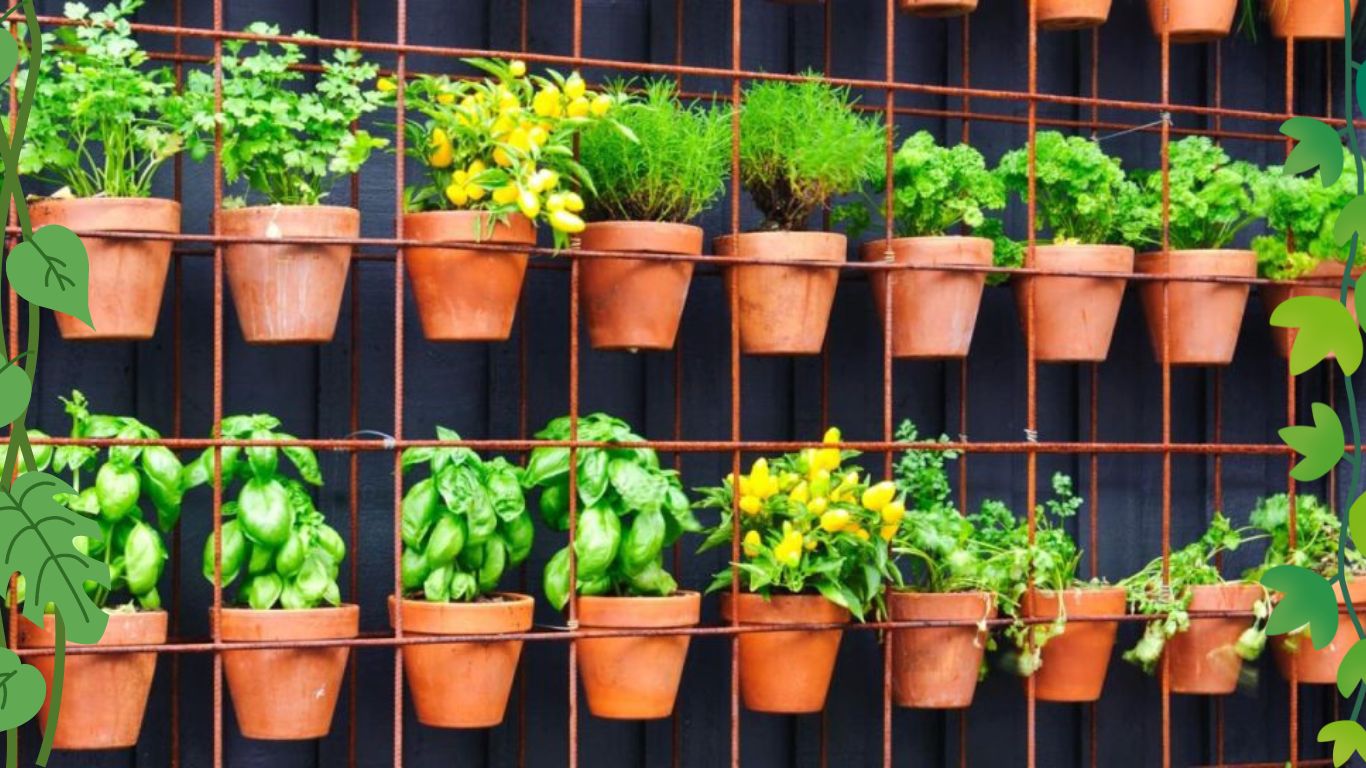
Step 5: Create the Wire Mesh Support
Unroll the hex wire netting and cut it to fit the width between the two cedar posts. You will likely need three lengths of wire netting to cover the full height of your garden wall. Attach the netting to the back of the cedar planks and posts using fence staples. Ensure the wire mesh is securely fastened to provide support for the plant pots.
Step 6: Prepare the Terra Cotta Pots
Cut 30-35 pieces of wire, each about 16-18 inches long. Wrap one piece around the rim of each terra cotta pot and twist the wire to create a loop. This loop will be used to attach the pots to the wire mesh. Fill the pots with potting soil and transplant your small plants into the pots.
Step 7: Attach the Pots to the Wire Mesh
Thread the wire loops through the hexagonal openings in the wire netting. Twist the wire ends together behind the netting to securely fasten each pot to the vertical garden wall. Make sure the pots are evenly spaced and securely attached.
Step 8: Water and Maintain
Once your vertical garden wall is complete, water the plants thoroughly. Vertical gardens tend to dry out quickly, so regular watering is essential, especially in warmer climates. Consider installing a drip irrigation system to make maintenance easier. You may also want to rotate your plants seasonally for optimal growth.
How to Build a Freestanding Vertical Garden
If you don’t want to build a DIY Vertical Garden Wall directly against a wall or fence, you can create a freestanding version using the same materials. The only difference is that you’ll need to add additional supports, such as crossbars or brackets, to stabilize the structure.
Step-by-Step Guide for a Freestanding Vertical Garden:
- Install Additional Ground Spikes: Place two more ground spikes at the rear of the structure to add stability.
- Add Crossbars: Attach cedar crossbars between the rear and front posts using lag bolts for extra support.
- Stabilize with Anchors: Secure the base of the structure with additional anchors or weights to prevent it from tipping over in strong winds.
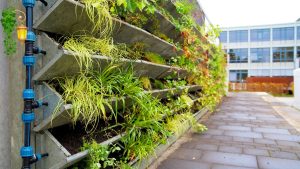
How to Create a Vertical Wall Garden to Maximize Space
Maximizing space with a vertical garden requires thoughtful planning. Here are a few tips to help you create a vertical wall garden that makes the most of your available space:
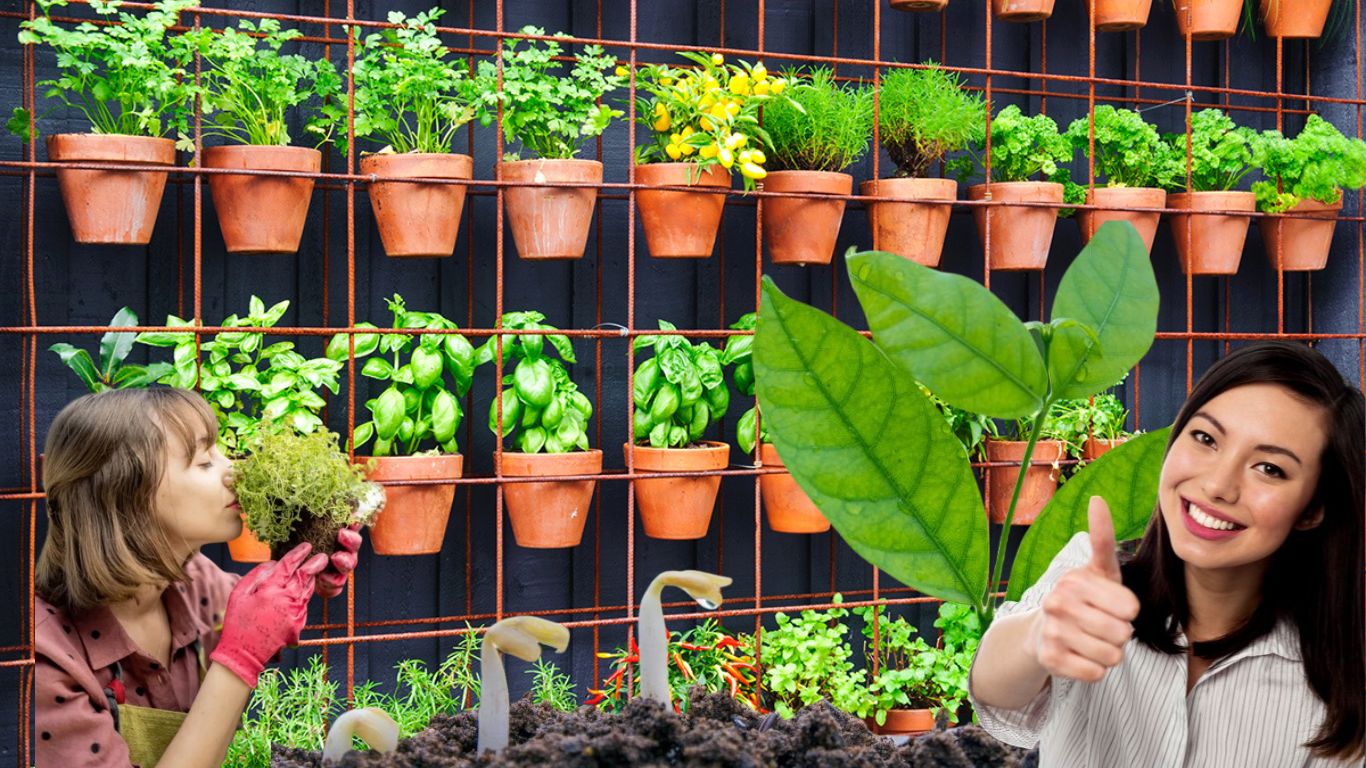
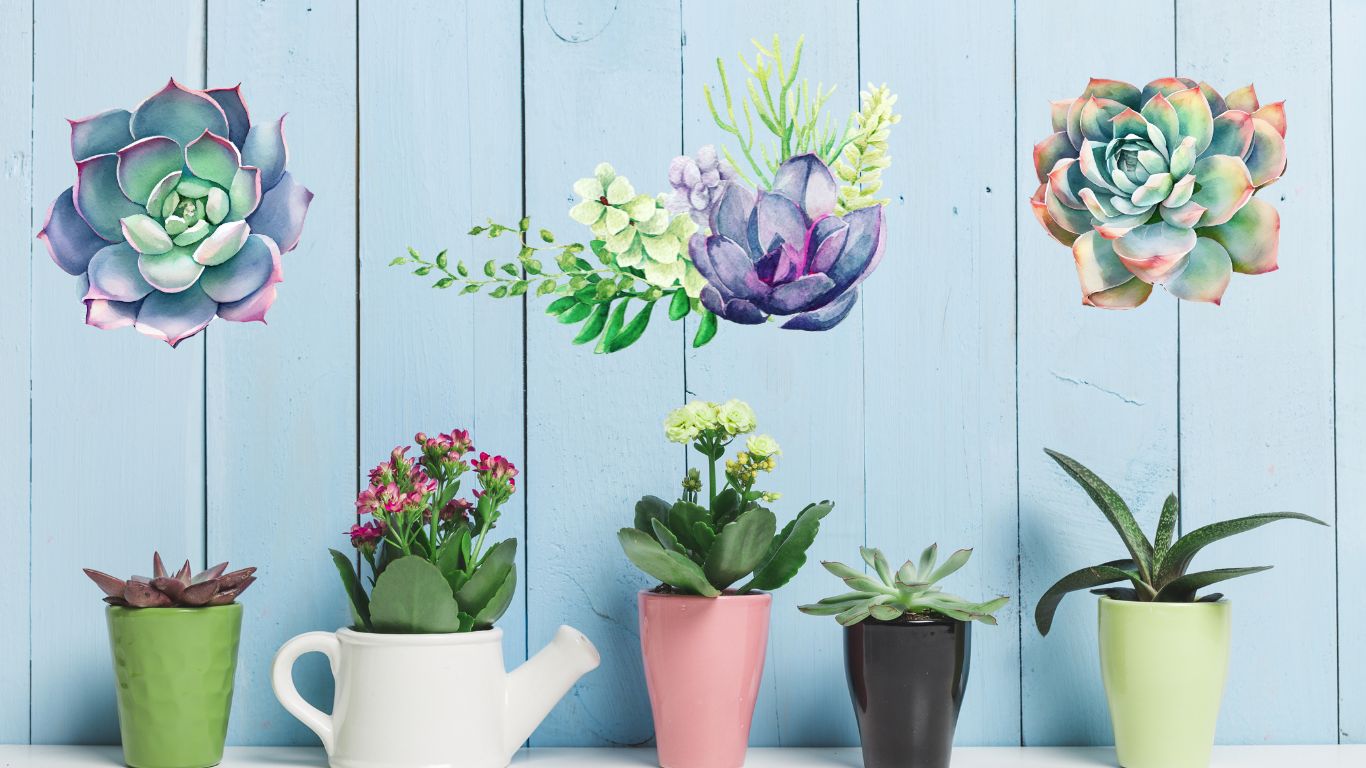
- Use Plant Pockets: Vertical plant pocket wall gardens are an excellent way to grow herbs, flowers, or succulents without needing individual pots for each plant. You can buy pre-made fabric pockets or create your own with breathable materials.
- Tiered Design: Arrange your plants in a tiered fashion with smaller plants at the top and larger, cascading plants at the bottom. This arrangement allows each plant to receive adequate sunlight.
- Incorporate Vines: If you’re short on space, climbing plants like ivy, sweet peas, or morning glory can grow vertically along the wire mesh, further maximizing space.
Choosing the Right Plants for Your Vertical Garden Wall
The plants you choose will play a big role in the success of your vertical garden. Here are some great options for a vertical garden:
- Herbs: Basil, parsley, thyme, and mint grow well in vertical gardens and can be used in cooking.
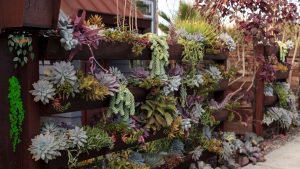
- Succulents: These drought-tolerant plants are ideal for low-maintenance gardens.
- Flowers: Begonias, petunias, and marigolds add vibrant color to your garden wall.
- Vines: Clematis, jasmine, and climbing roses work well for vertical gardens, providing lush greenery and fragrant flowers.
Maintenance Tips for Your DIY Vertical Garden Wall
Once your garden wall is built and filled with plants, it will require regular care to stay healthy and vibrant. Here are some tips for maintaining your vertical garden:
- Water Regularly: Vertical gardens can dry out quickly, especially during the summer months. Consider installing a drip irrigation system for convenience.
- Prune and Rotate Plants: Keep plants healthy by pruning dead leaves and rotating them to ensure even sunlight exposure.
- Fertilize Monthly: Add a slow-release fertilizer to the pots every month to provide nutrients for plant growth.

FAQs: Frequently Asked Questions
How to make a vertical garden wall step by step?
Building a vertical garden wall involves installing posts, attaching wire mesh, and securing plant pots or pockets to the mesh. Make sure to choose a sunny location, and gather all the necessary supplies like cedar posts, wire mesh, pots, and soil.
How to build a freestanding vertical garden?
To build a freestanding vertical garden, install additional ground spikes and attach crossbars between the front and rear posts for added support. Secure the base with anchors or weights to prevent tipping.
How to create a vertical wall garden to maximize space?
To maximize space in your vertical wall garden, use plant pockets, grow climbing plants, and arrange plants in a tiered design. This will allow each plant to get enough sunlight and room to grow.
What is a vertical plant pocket wall garden?
A vertical plant pocket wall garden uses fabric or plastic pockets to grow plants instead of individual pots. This method is perfect for small herbs or succulents and is space-efficient.
With a little creativity and effort, you can create a beautiful DIY vertical garden wall that not only enhances the look of your outdoor space but also provides practical benefits like fresh air and privacy. Enjoy the process, and happy gardening!